5 Tips You Should Follow When Laying Your New Hardwood Floors
- December 15, 2015
- Posted by: Glyn Pires
- Category: Floor Sanding
By now you’re bound to have been persuaded that hardwood floors is by far the best way to go and all you need to work out is the best way to install the floor of your dreams. Though it’s not the most difficult task in the world, we only recommend embarking on a solo project if you’re a very confident DIY enthusiast as there is a long list of things that can go wrong! There’s also nothing worse than a shabby looking attempt at what should always be a stylish design.
So if you’re looking to hire a floor specialist team such as ourselves, make sure:
-
We provide you with written quotes and a breakdowns of where your money is going!
All work that is carried out by a professional floor company should come with a written contract because it serves as a legal document. It should contain a precise breakdown of all the costs of labour, materials, installation and preparation so as a customer, you’re made fully aware of the work that’s being done to your home.
-
Carrying out a moisture check
Solid wood floors need time to adjust to their immediate climate when they’re freshly laid. A product of nature, it’s only expected that you’ll experience some expansion and contraction as the seasons and humidity changes. Your floor installation professionals should take moisture readings from above and below the floor level, ensuring that these readings differ no more than 5% for a suitable environment for wooden floors. If the difference is more than this figure, you’ll need to adjust the moisture levels in your home before fitting a hardwood floor. A new floor can take up to three weeks to acclimatise to its new surroundings.
-
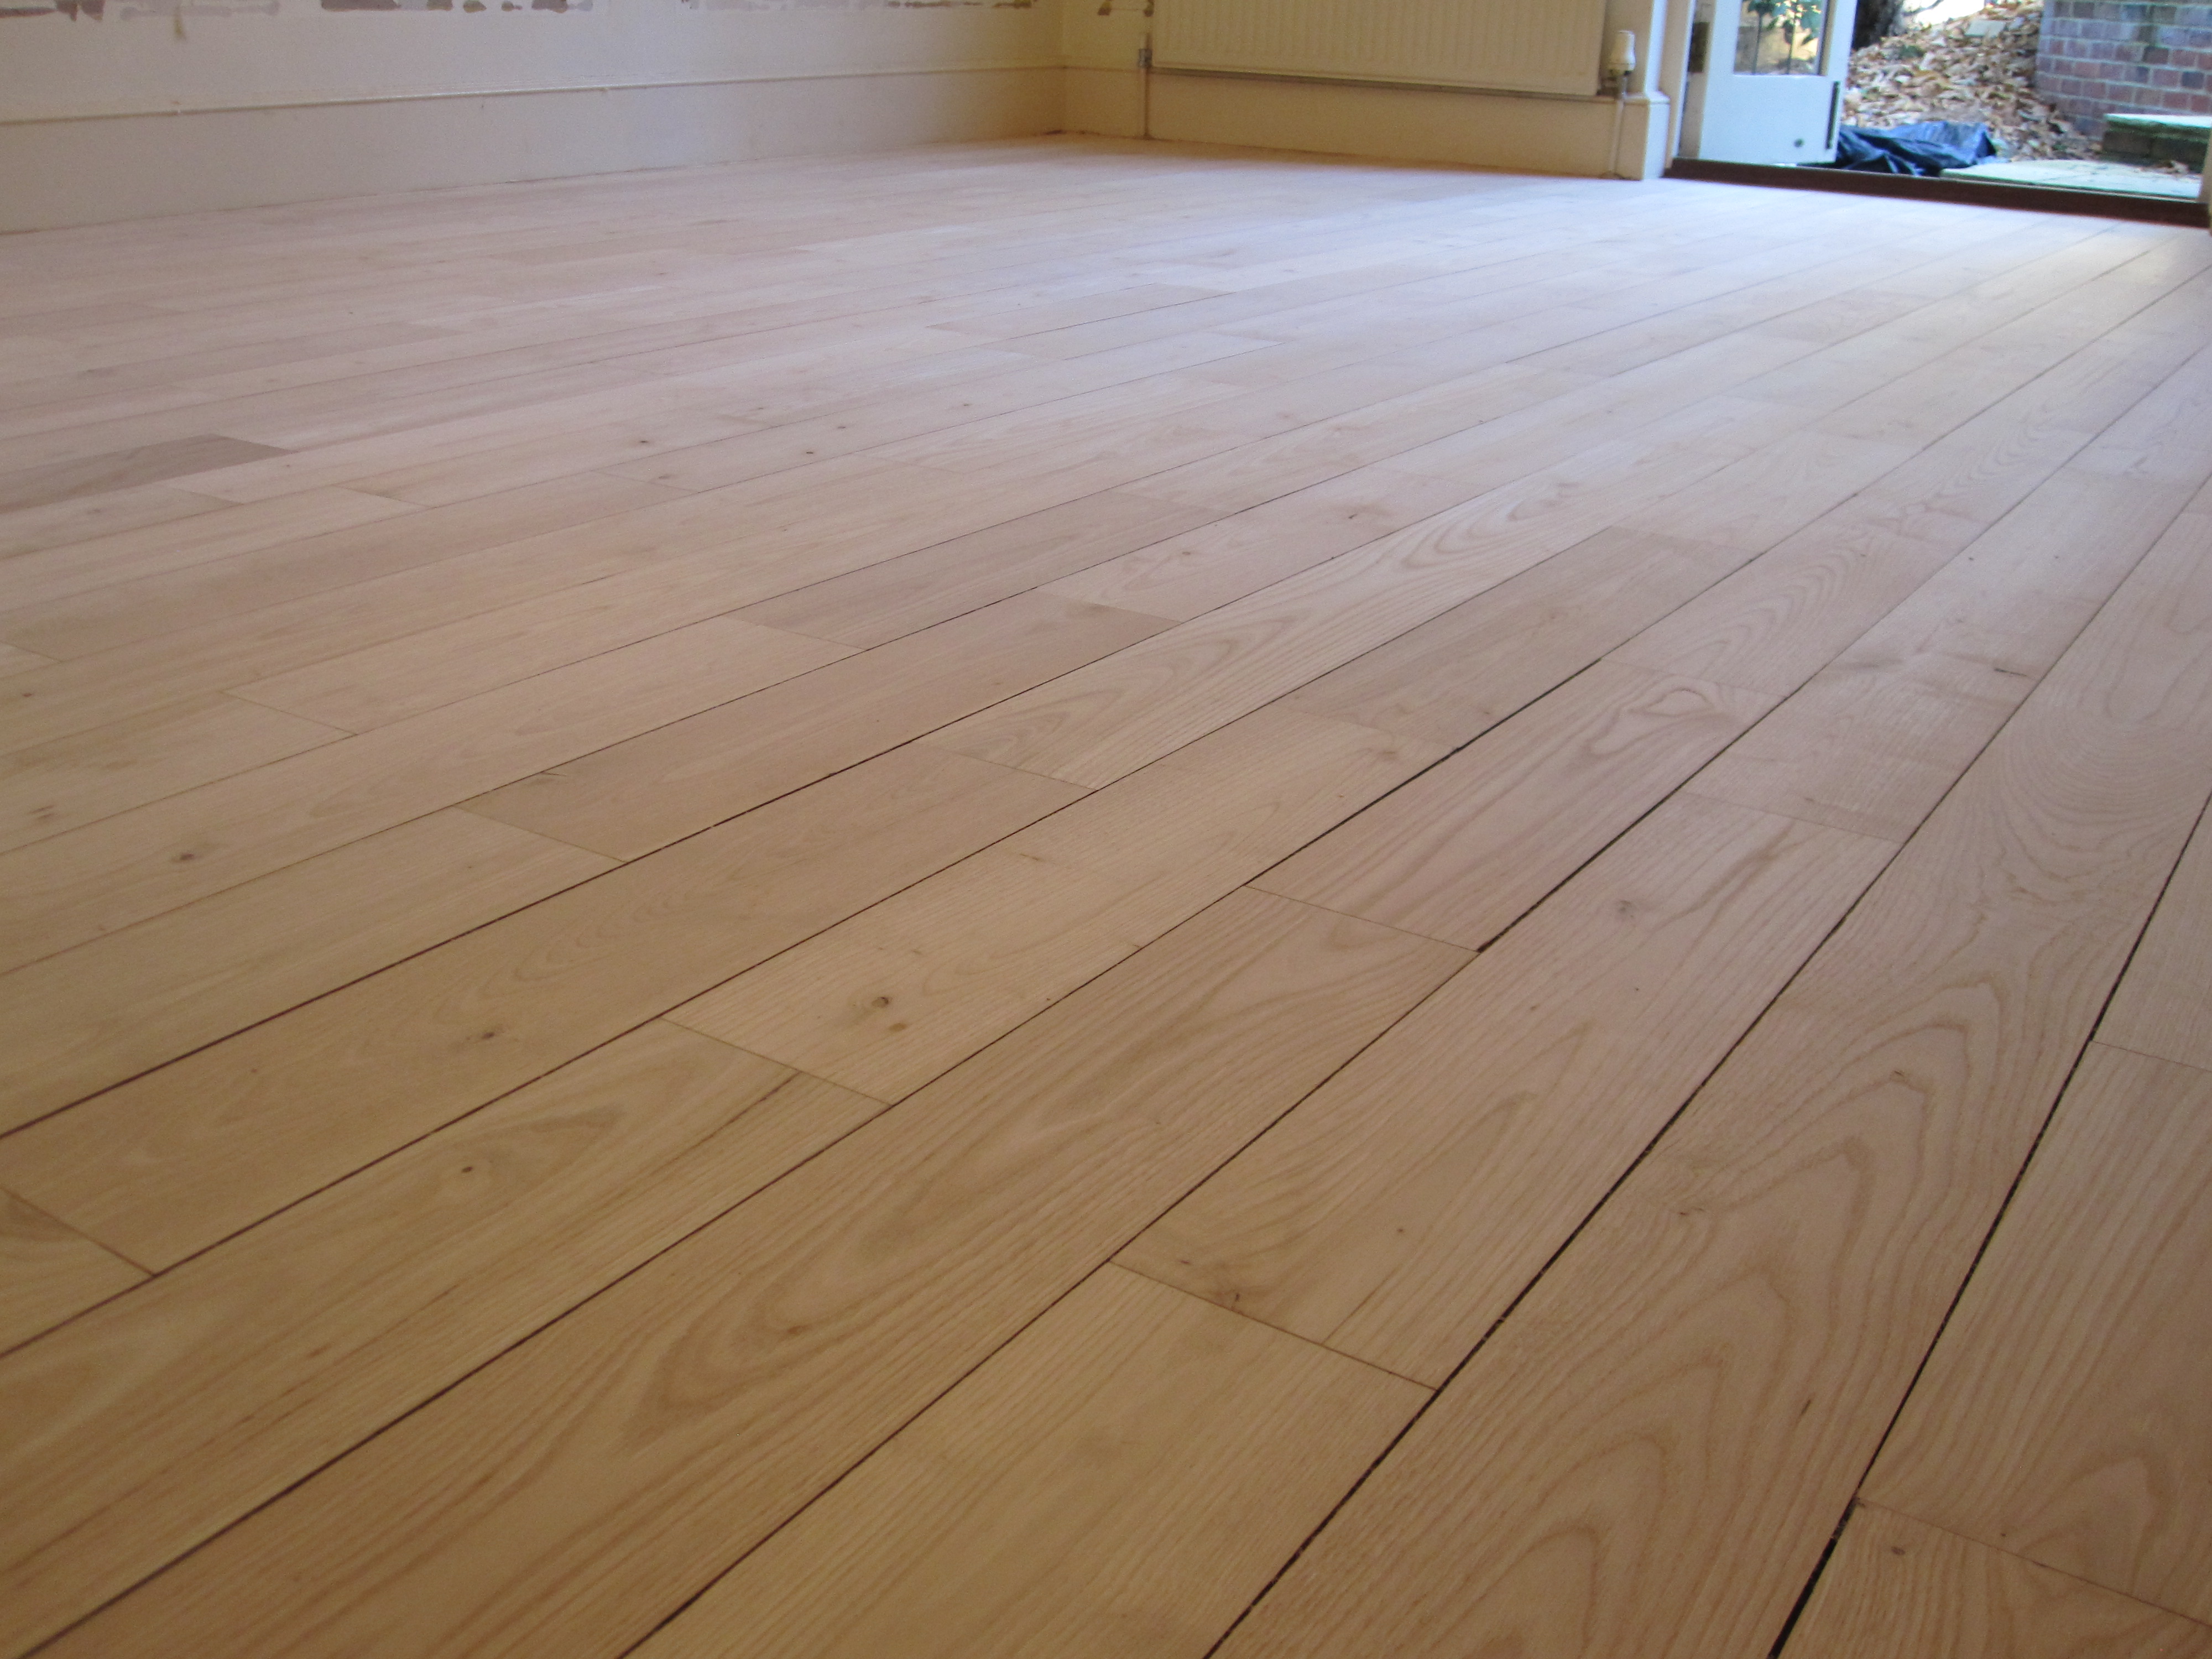
The Subfloor Preparation Process
It doesn’t take much to create a good environment to lay a hardwood floor. The surface needs to be flat and free of lumps and bumps, dry with low levels of moisture and most importantly, clean! We’ve already explained the dangers of laying a floor in an environment that is too wet, and an un-level floor can result in nightmare squeaky floorboards! Make sure you and your floor installation specialist is happy with these three elements and that any dirt has been cleaned from the surface of your subfloor.
-
Layout
You shouldn’t under any circumstances start nailing down your floor until all of the wood layout has been plotted. This stage of the process crucial in order to accommodate tricky areas such as doors, fireplaces, stairs and irregular corners. Only once you’re happy with the layout of each board should any nails appear.
-
Nails
Don’t cut corners when it comes to nailing down your floor as a hardwood floor is a long term investment and you’ll only find yourself in trouble later down the line. In general, each board should have at least two nails and they should rest a couple of inches from the end of each board but this can differ depending on what sort of wood you’re using and how large the planks are.